TL;DR:
Before sending your phone for repair, back up everything – photos, contacts, messages, and documents to protect against data loss. Use cloud options like iCloud or Google Drive, or create a local backup on your computer. Always verify the backup, log out of accounts, and remove sensitive information before performing a factory reset. Once phone repairs are complete, restore your data using your chosen backup method. Taking these steps ensures your personal information stays safe and your device is easy to set up again after repair.
Why Backing Up Your Data is Important
Backing up your data ensures that you don’t lose important information if something goes wrong during the repair process. It also makes it easier to restore your device to its previous state after repairs, saving you time and hassle. Here’s how to do it:
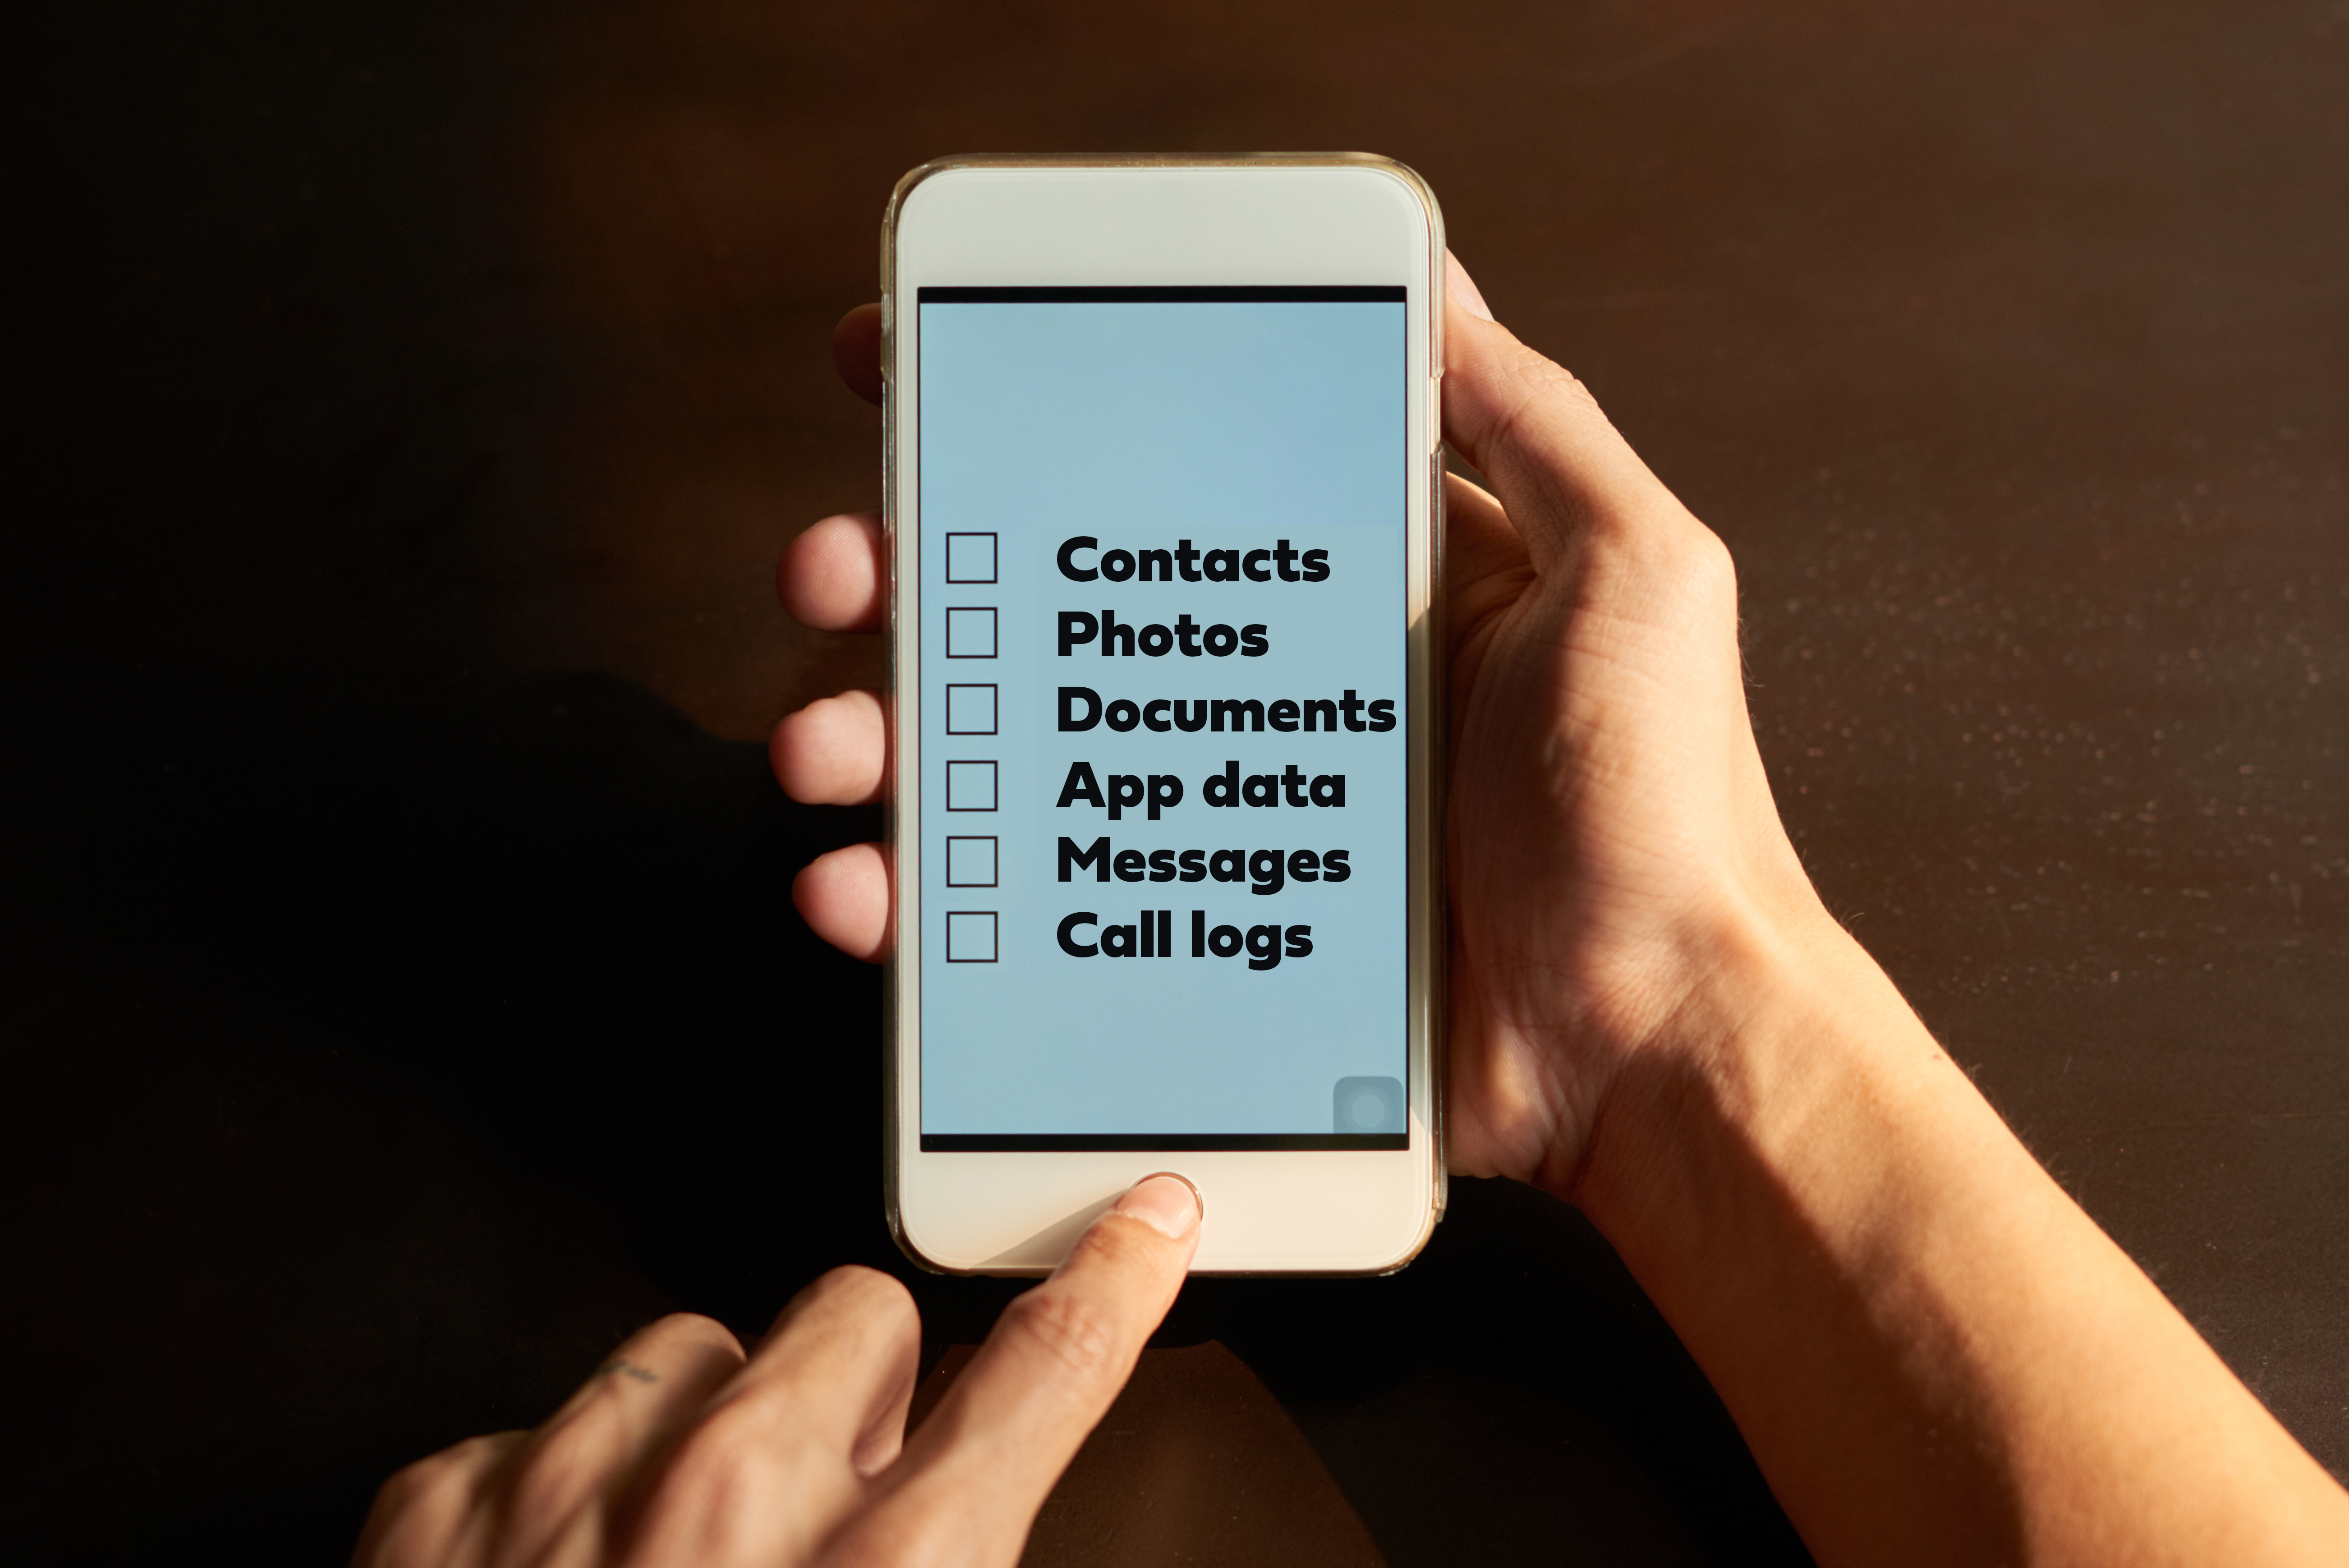
Step 1: Identify What Needs to be Backed Up
Before you start the backup process, make a list of what you need to save. Common items include:
- Contacts
- Photos and videos
- Documents
- App data and settings
- Messages
- Call logs
Step 2: Choose Your Backup Method
There are several methods to back up your data, depending on your device and preferences. Here are the most common options:
1. Cloud Backup
For iPhone Users:
- iCloud Backup: Go to Settings > [your name] > iCloud > iCloud Backup and turn it on. Tap “Back Up Now” to start the backup process.
For Android Users:
- Google Drive: Go to Settings > System > Backup and turn on “Back up to Google Drive.” Ensure that your photos, videos, and app data are included in the backup settings.
2. Local Backup
For iPhone Users:
- iTunes/Finder Backup: Connect your iPhone to your computer and open iTunes (or Finder on macOS Catalina and later). Select your device, click “Back Up Now,” and ensure the “Encrypt local backup” option is checked to save passwords and health data.
For Android Users:
- Manufacturer Software: Some manufacturers offer their own backup software. For example, Samsung users can use Smart Switch to back up data to a computer.
3. Manual Backup
For Both iPhone and Android Users:
- Photos and Videos: Manually transfer photos and videos to a computer using a USB cable.
- Documents: Save important documents to a cloud service like Google Drive, Dropbox, or OneDrive
Step 3: Verify Your Backup
After completing the backup process, it’s essential to verify that everything has been saved correctly. Check that all your important data is accessible and up-to-date in your chosen backup location.
Step 4: Remove Sensitive Data
For added security, consider removing sensitive information from your phone before sending it for repair. This includes:
- Logging out of all accounts
- Deleting saved passwords
- Removing personal files that you don’t want to be seen
Step 5: Factory Reset Your Phone
A factory reset will erase all data from your device, ensuring that no personal information is accessible during the repair process. Make sure you’ve completed and verified your backup before performing this step.
For iPhone Users:
- Go to Settings > General > Reset > Erase All Content and Settings.
For Android Users:
- Go to Settings > System > Reset options > Erase all data (factory reset).
Step 6: Restore Your Data After Repair
Once your phone is repaired, you’ll need to restore your data. Here’s how:
For iPhone Users:
- During the setup process, choose “Restore from iCloud Backup” or “Restore from iTunes Backup” and follow the prompts.
For Android Users:
- During the setup process, sign in to your Google account and choose “Restore from Google Backup.” Alternatively, use the manufacturer’s software if you used it for the backup.
Conclusion
Backing up your data before a phone repair is a crucial step to protect your valuable information. By following these best practices, you can ensure that your data is safe and easily recoverable. Remember, taking a few minutes to back up your data can save you from significant headaches down the line. Always prioritise data security, and you’ll have peace of mind when your phone goes in for repairs.
Ready to get your phone fixed without the stress? Whether you own an iPhone, Samsung, or Google device, our expert technicians make repairs quick, reliable, and hassle-free. Back up your data, book your repair today, and enjoy peace of mind knowing your phone is in trusted hands.